
Google Maps is an indispensable tool for developers, businesses, and websites that need location-based services—whether it’s embedding interactive maps, geocoding addresses, or displaying static images. However, to access the Google Maps Platform APIs (like the JavaScript API, Embed API, or Places API), you need an API key. This key authenticates your requests, tracks usage, and links to your billing account.
Creating an API key is straightforward but requires a Google Cloud project and a billing account (don’t worry—Google offers a generous $200 monthly credit for Maps Platform usage, which covers most small-to-medium projects). In this guide, we’ll walk through every step in the Google Cloud Console. I’ll include descriptions of key UI elements and reference typical screenshots from the official documentation and tutorials for visual clarity. Note: Screenshots can vary slightly based on updates, but the steps remain consistent.
Important Prerequisites:
- A Google account (Gmail works fine).
- Billing enabled (required since 2018; no charges until you exceed free quotas).
- Basic familiarity with web browsers—everything happens in the Google Cloud Console.
Let’s dive in!
Step 1: Sign In to the Google Cloud Console
Head over to the Google Cloud Console and sign in with your Google account. If you’re new, you’ll see a welcome screen prompting you to create a project.
- What you’ll see: A dashboard with a project selector dropdown at the top (it might say “Select a project” if none exists).
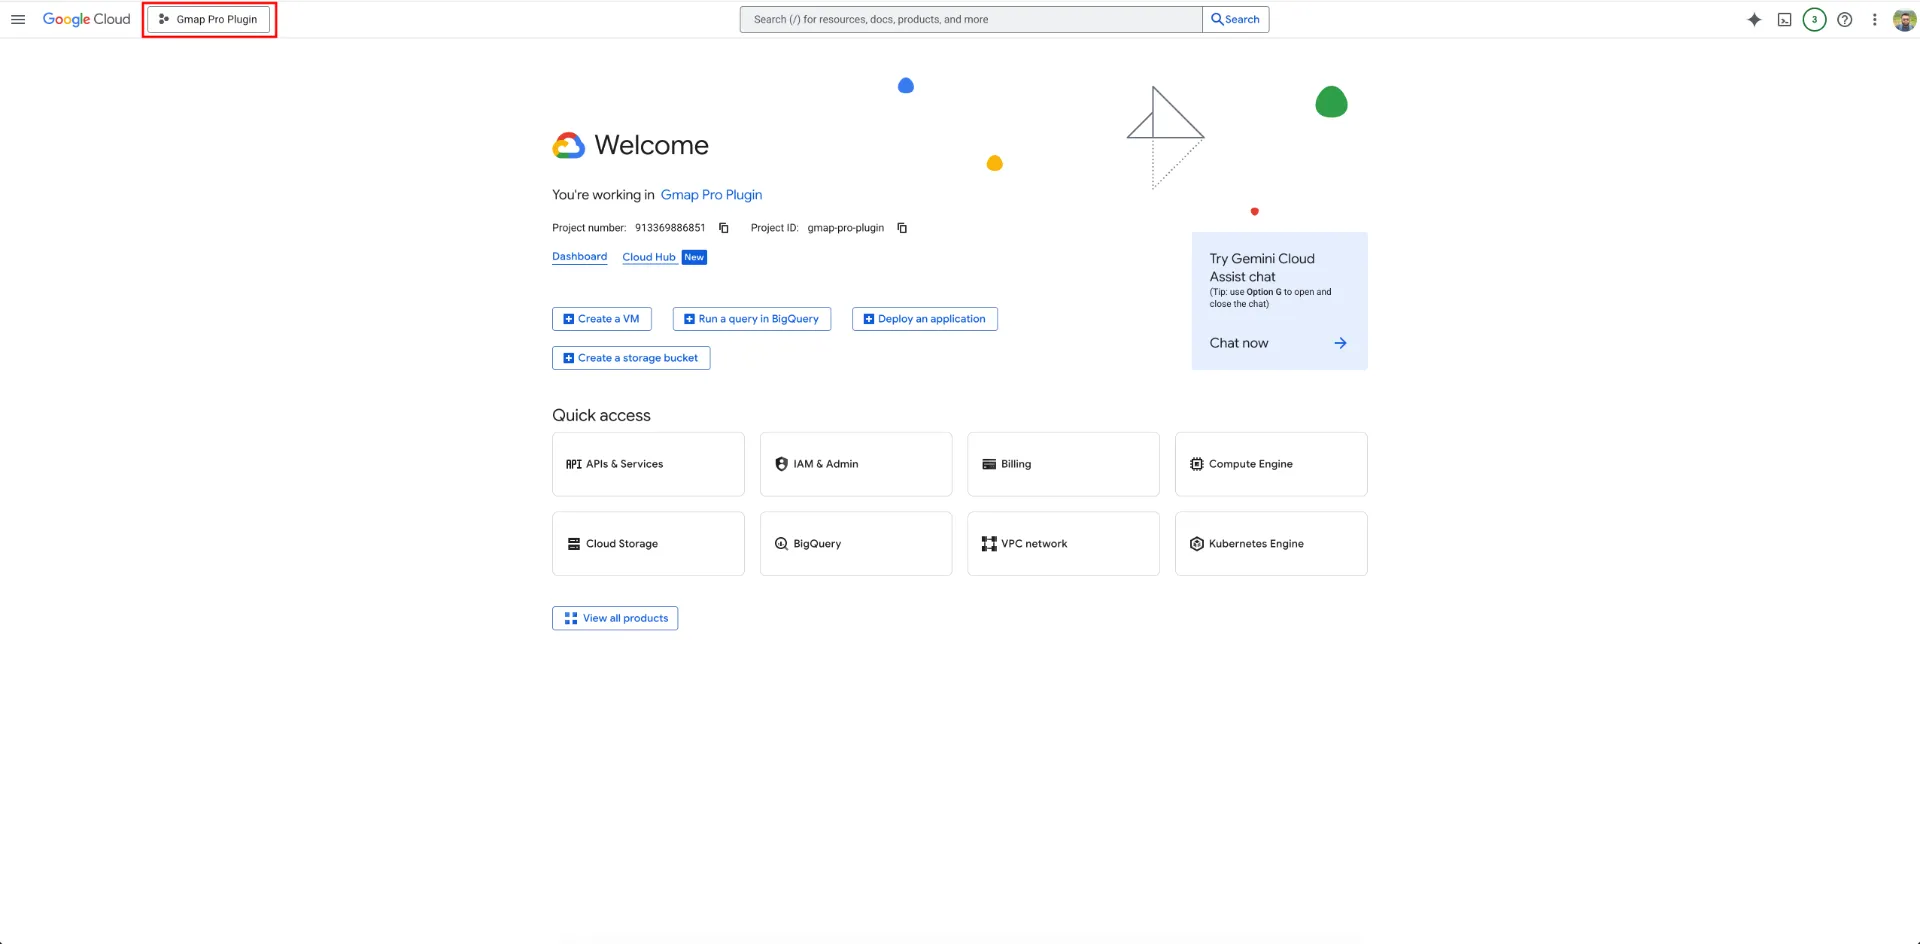
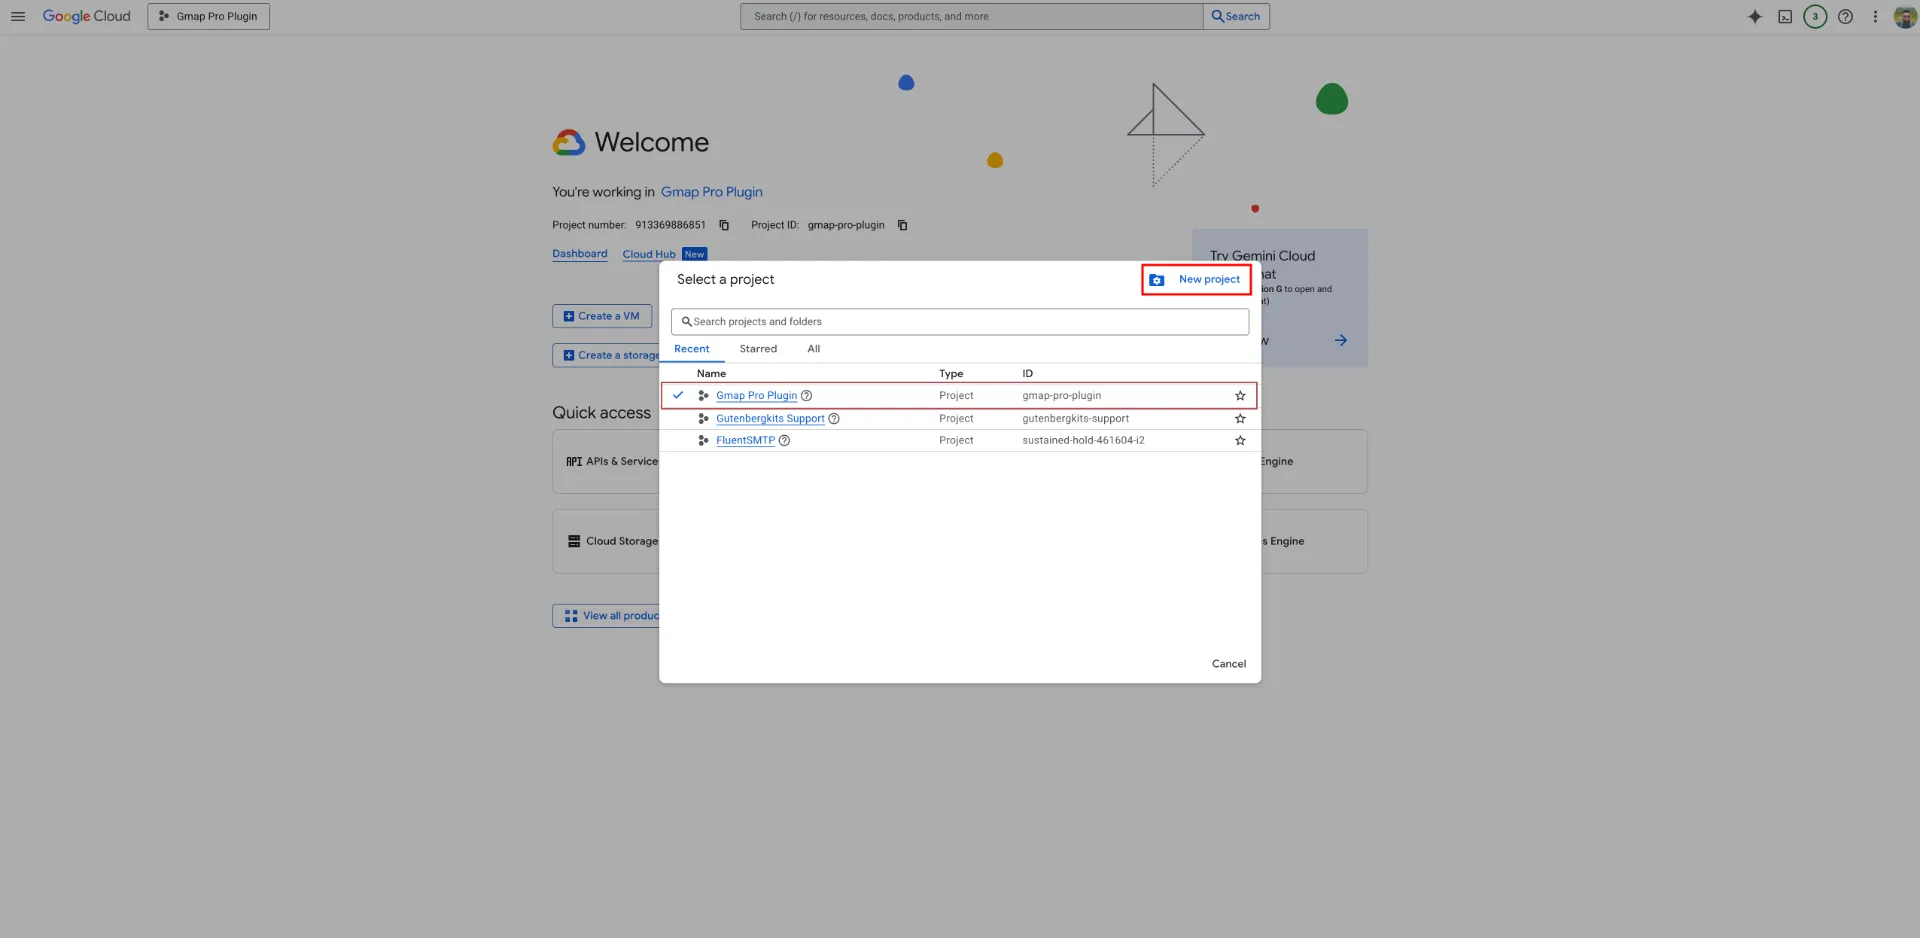
- Action: If you have an existing project, select it from the dropdown. Otherwise, click New Project (top-right button next to the project selector).
Step 2: Create a Project
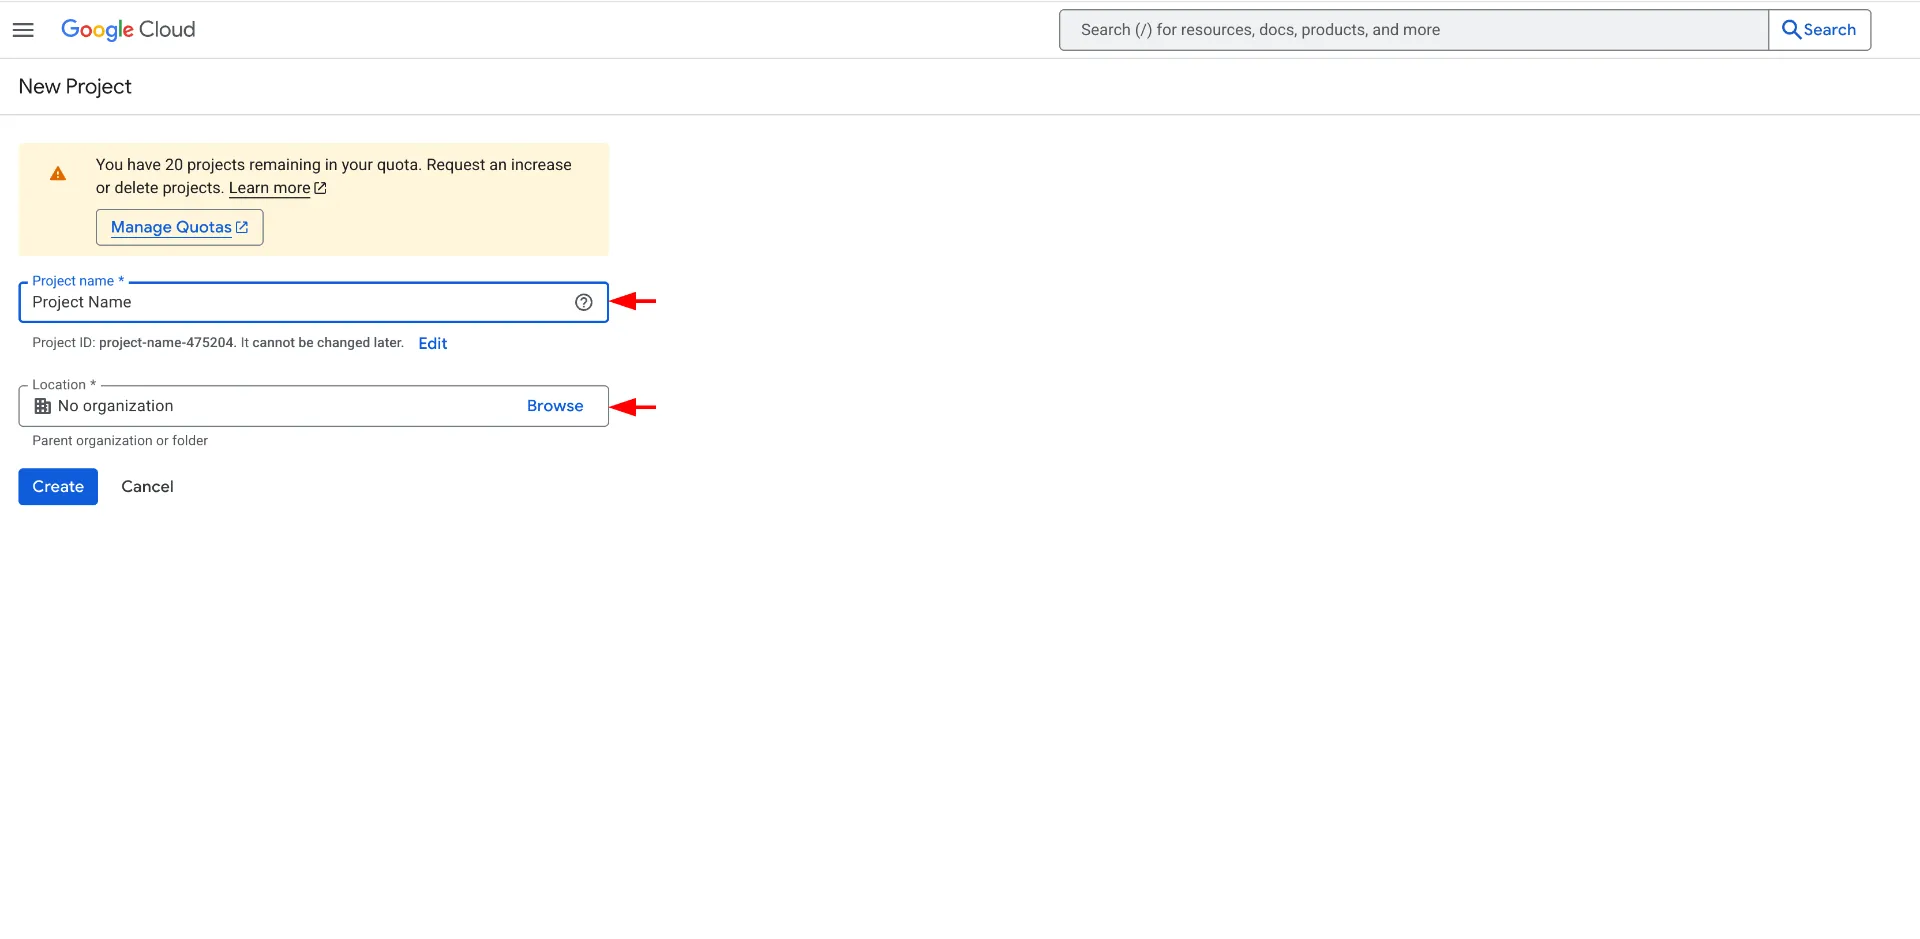
Every API key is tied to a project, which organizes your resources.
- Enter a Project name (e.g., “My Maps App”). The Project ID auto-generates (e.g., “my-maps-app-12345”)—you can edit it if needed.
- Choose a Location (usually your organization or “No organization” for personal use).
- Click Create. It takes 10-30 seconds to provision.
Step 3: Enable Places API
Your project needs Places API (new) enabled. Follow these steps:
- From the left sidebar, navigate to APIs & Services > Library
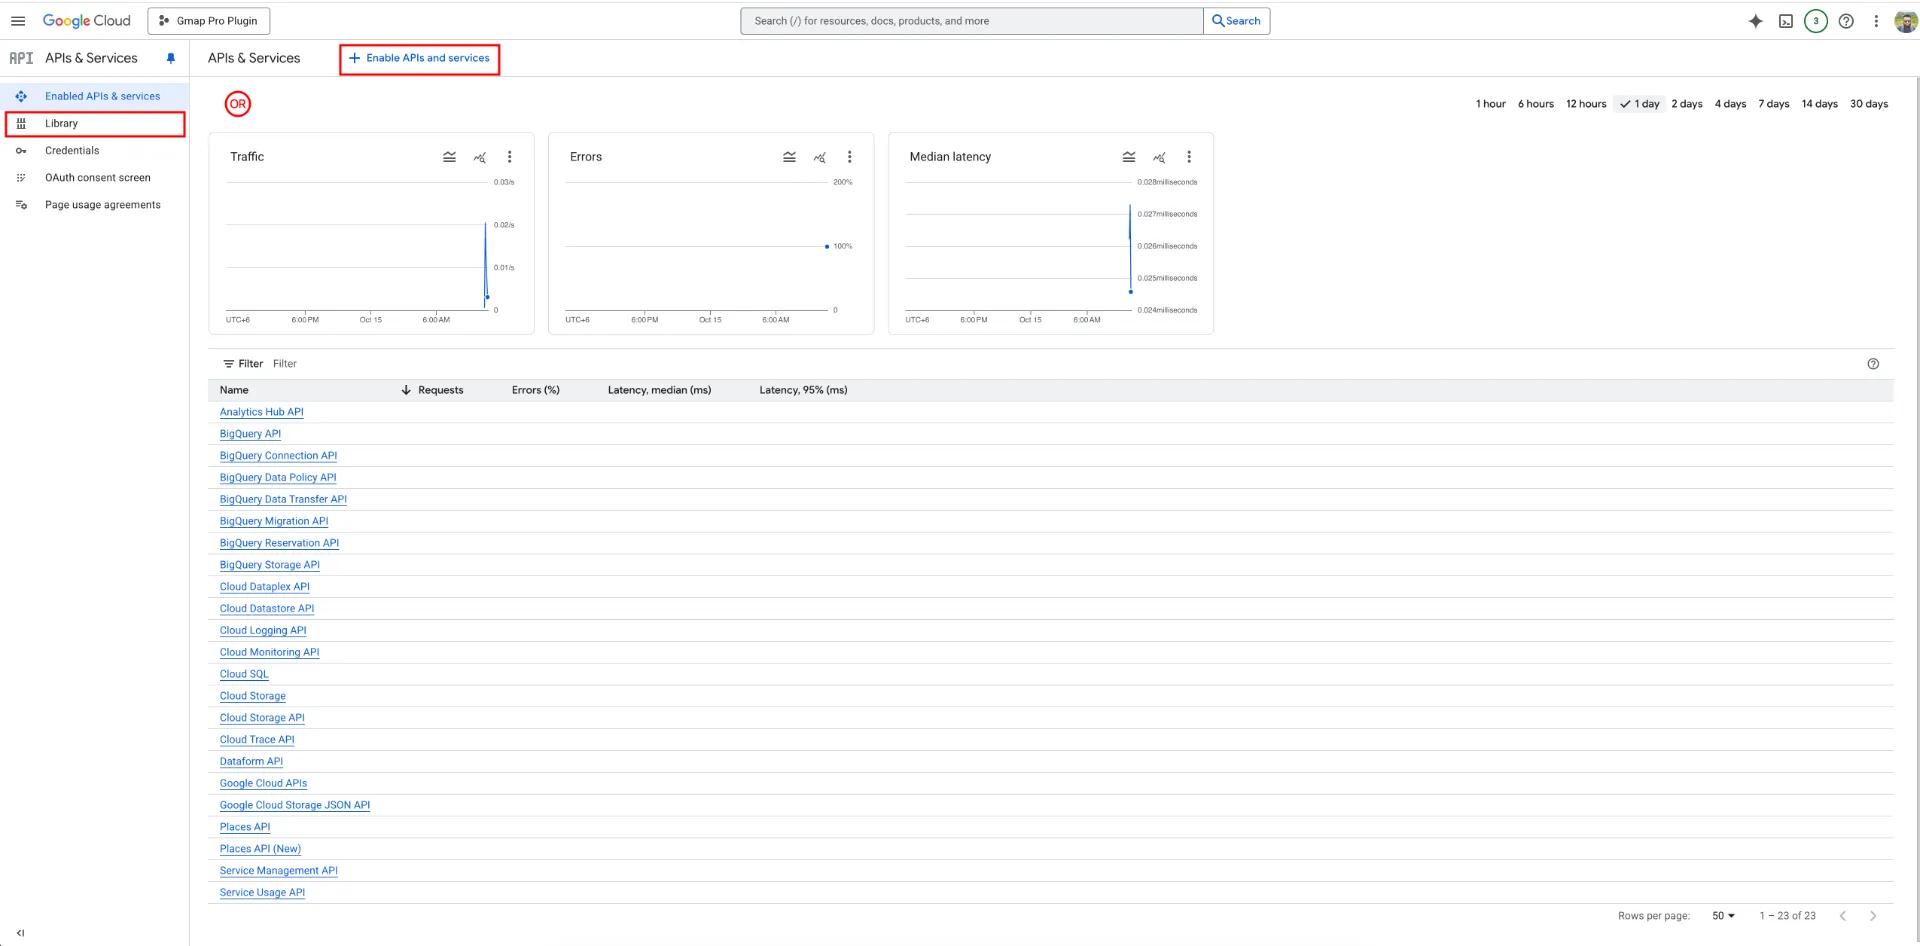
- Search for Places API (new)
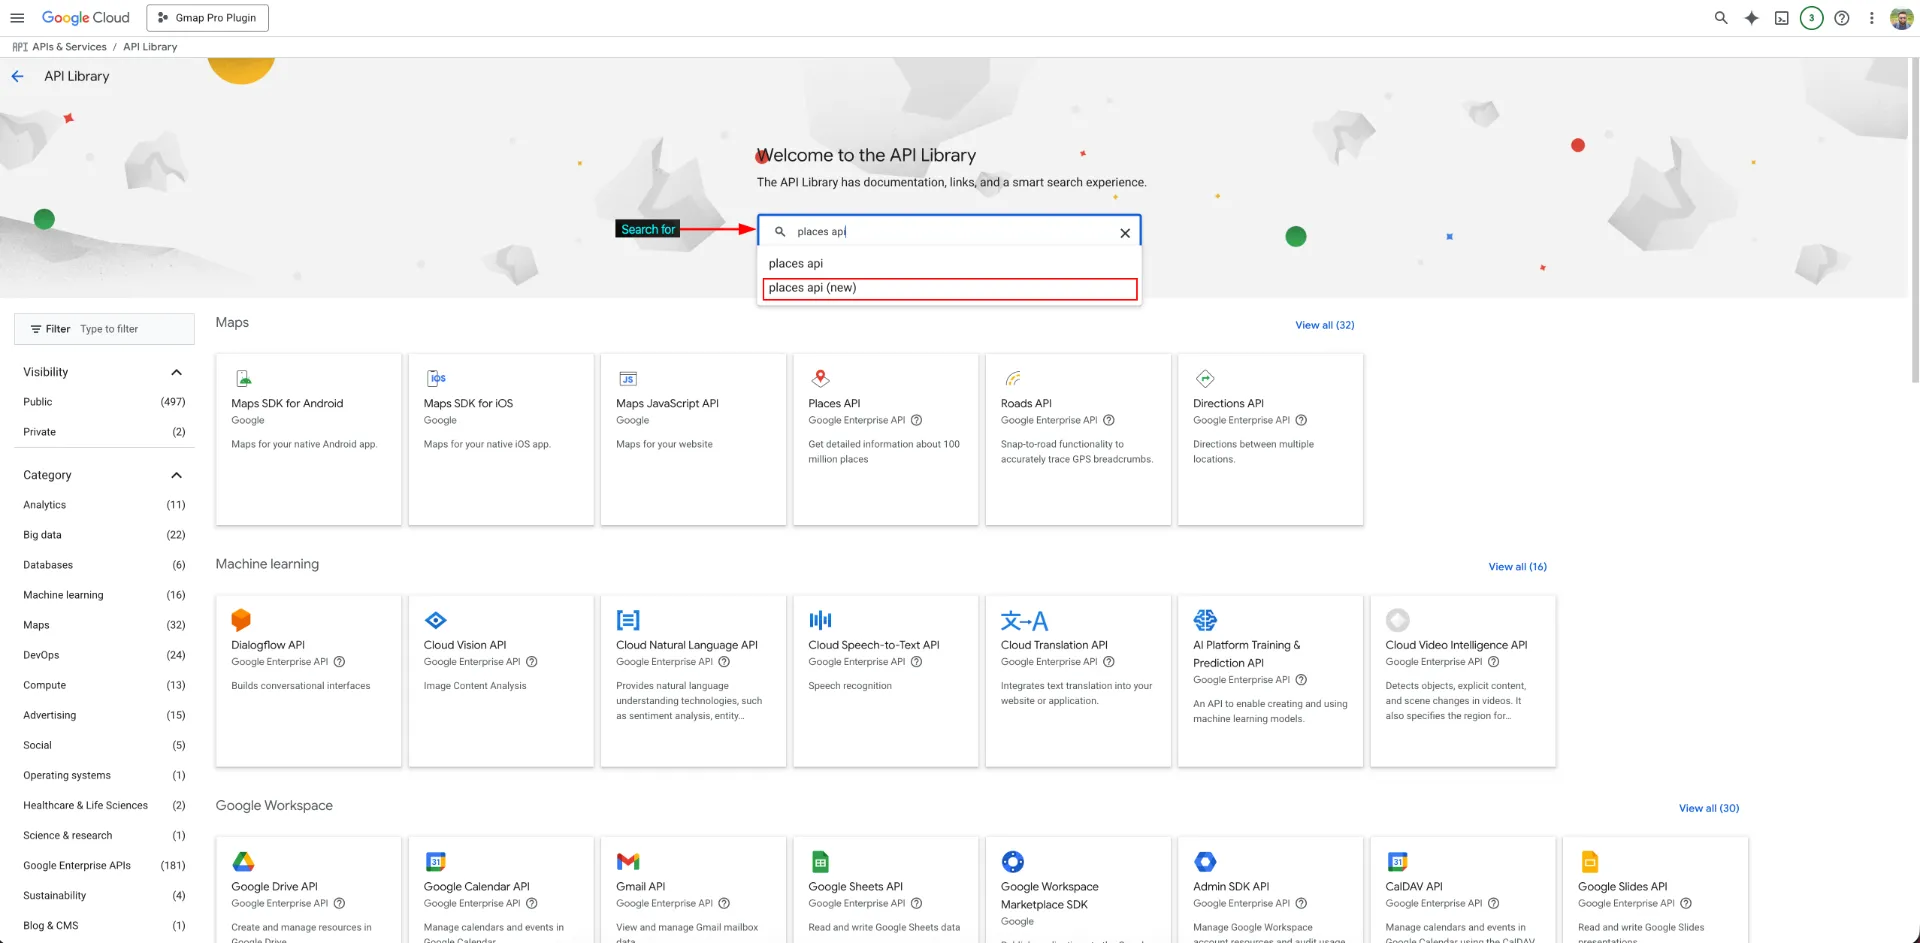
- Now Select the Places API (new). Please don’t use the old one
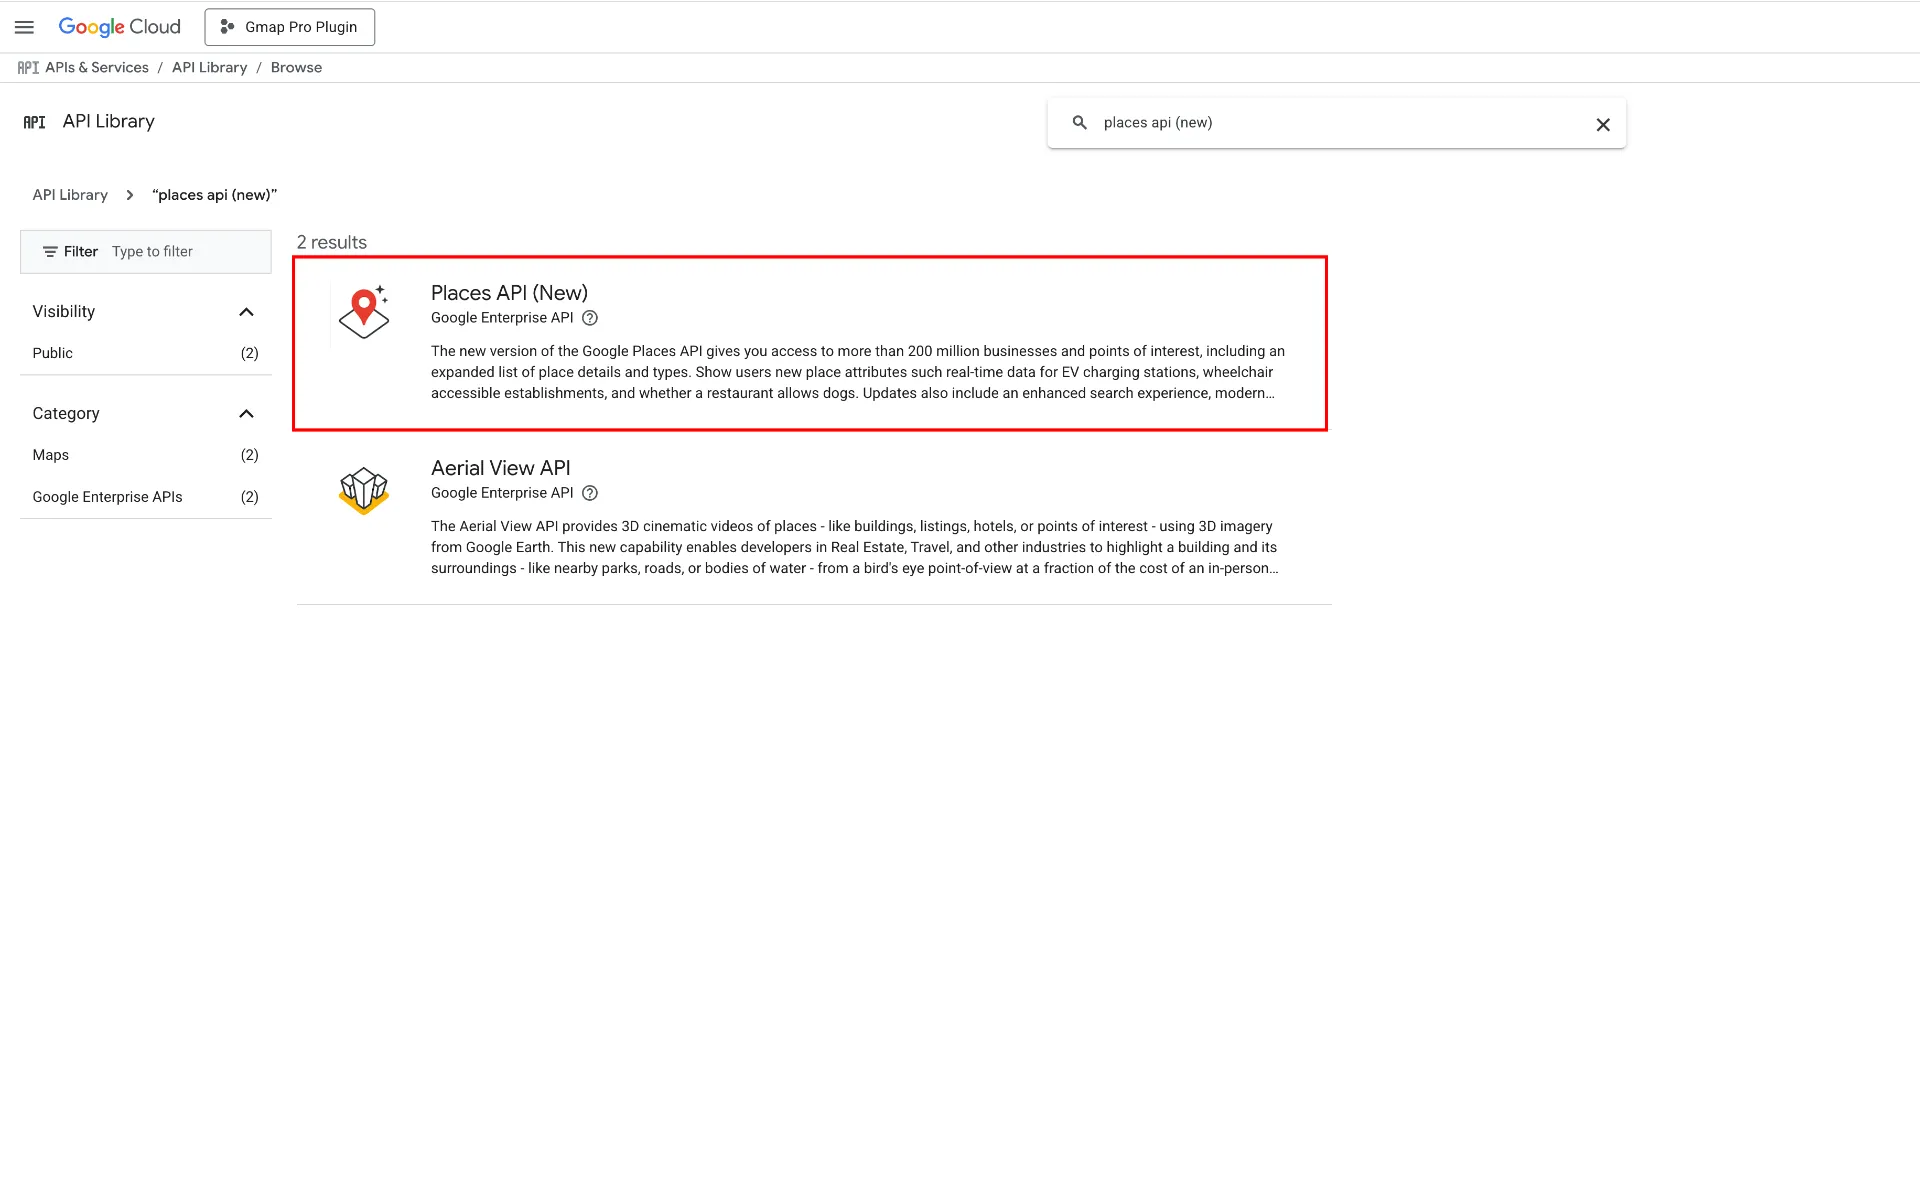
- Click the API, then Enable it.
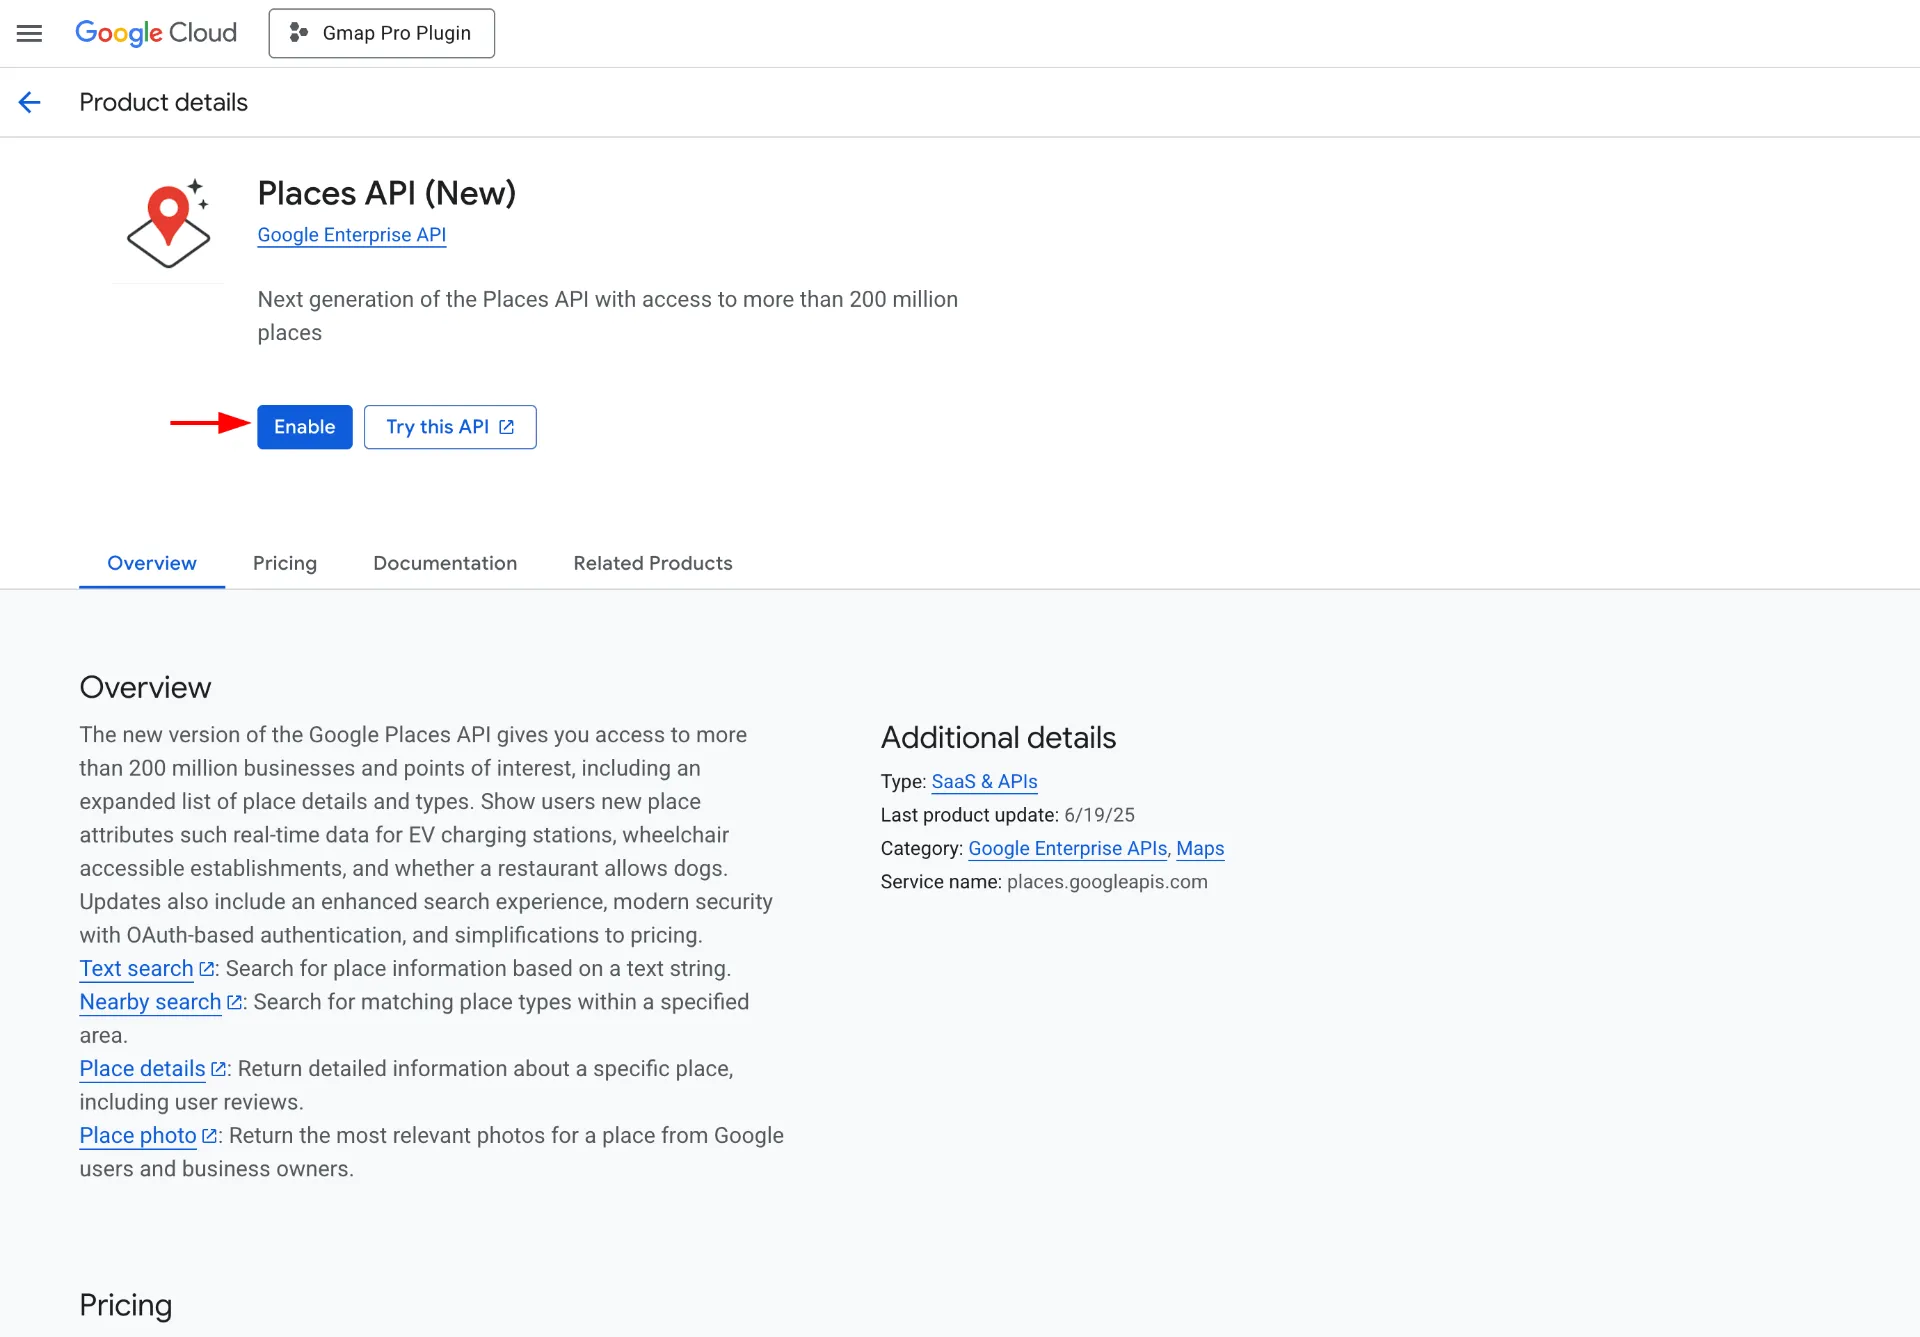
Step 4: Create the API Key
Now, generate the key itself.
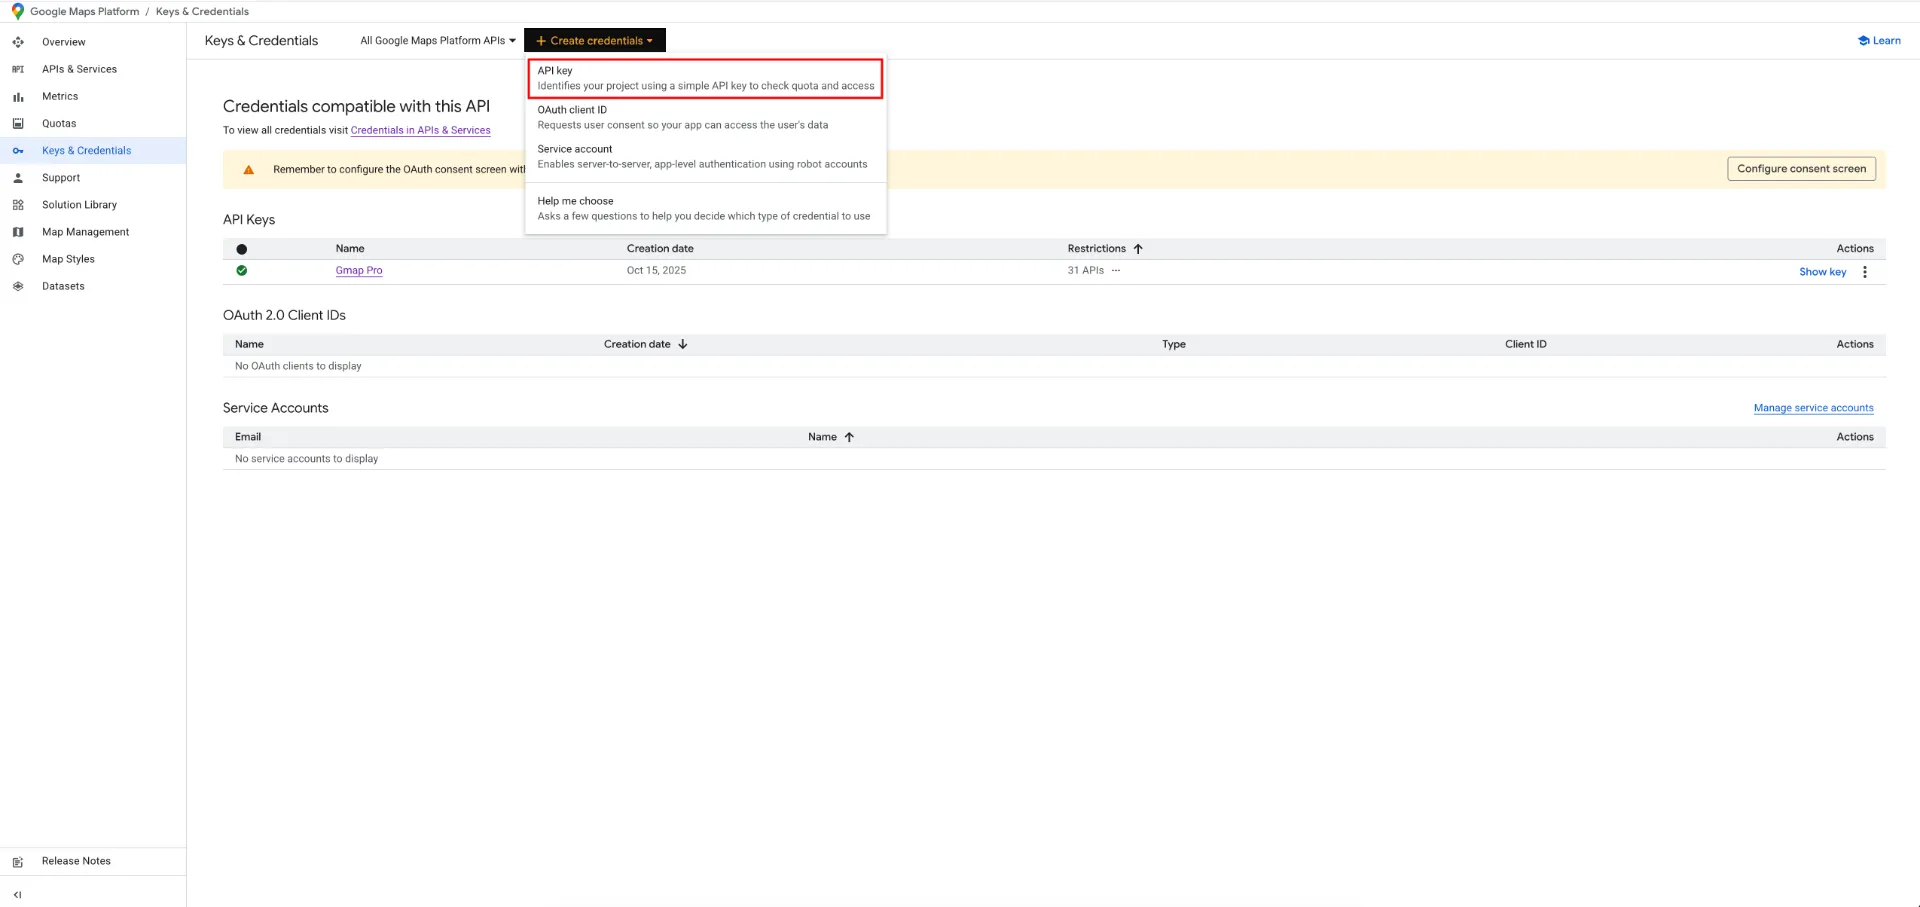
- Go to APIs & Services > Credentials (left sidebar).
- Click + Create Credentials > API key.
- A dialog pops up with your new key (e.g., “AIzaSyD…”). Copy it.
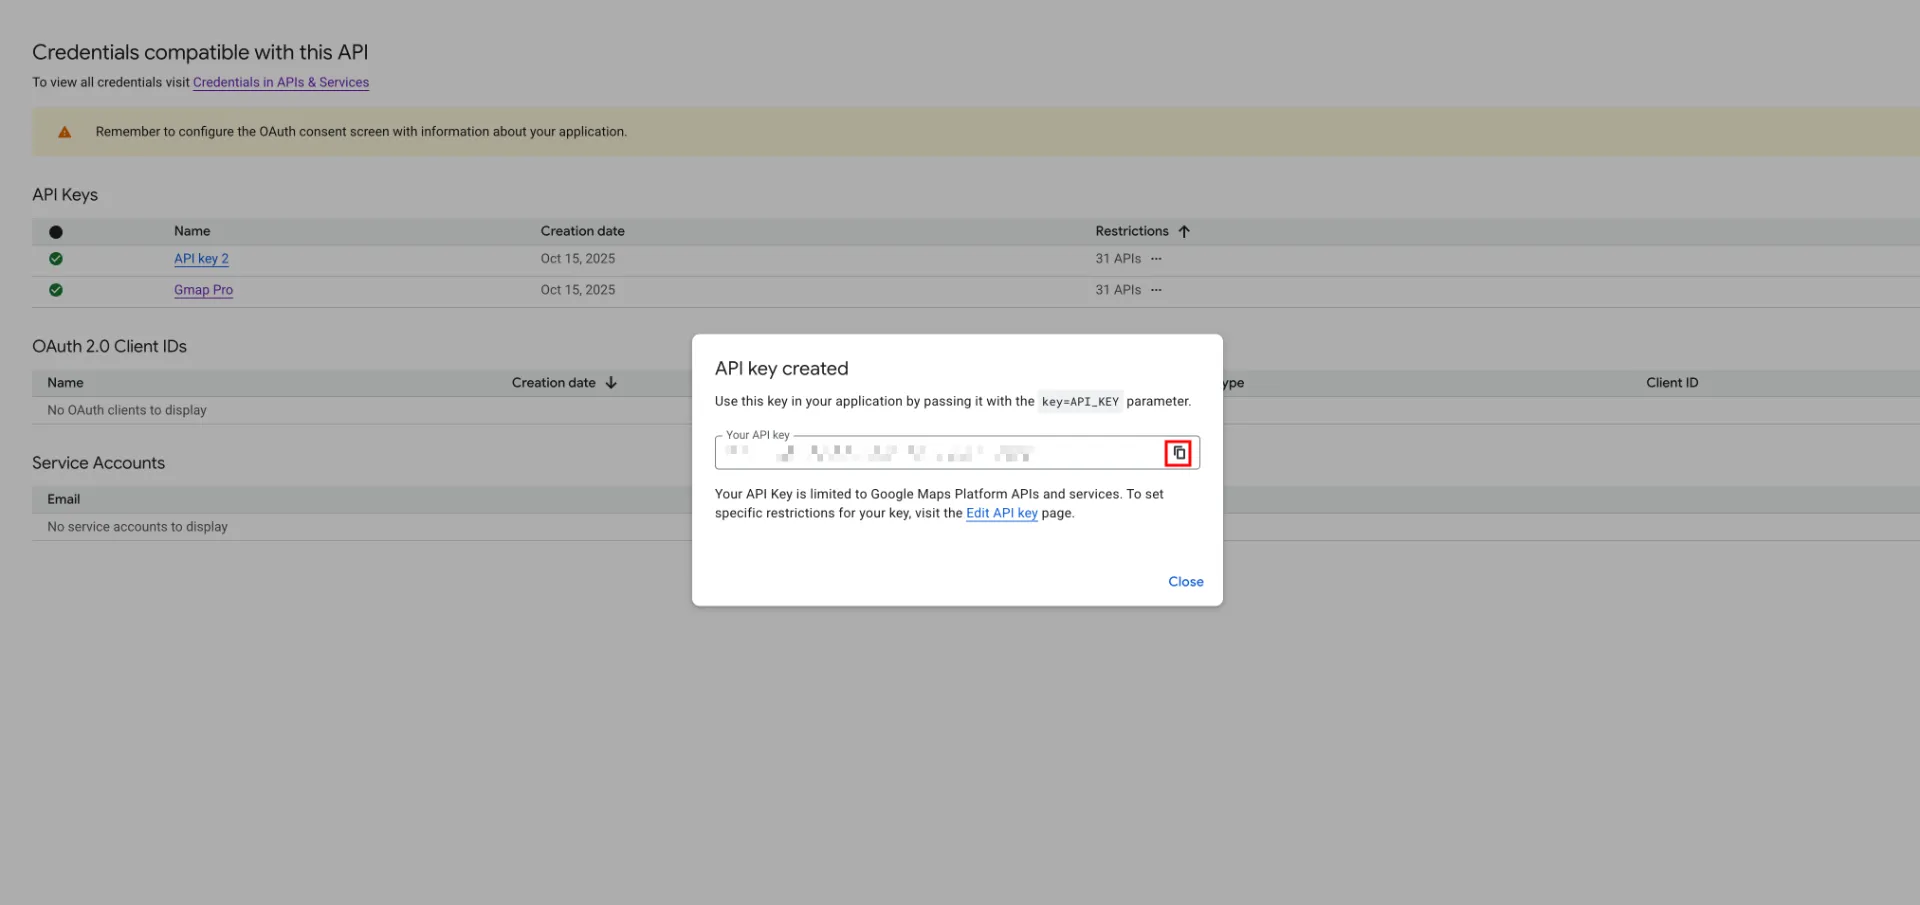
- What you’ll see: Credentials table with your new key listed under “API keys.”
Step 5: Restrict Your API Key for Security
Unrestricted keys are vulnerable to abuse—always add limits!
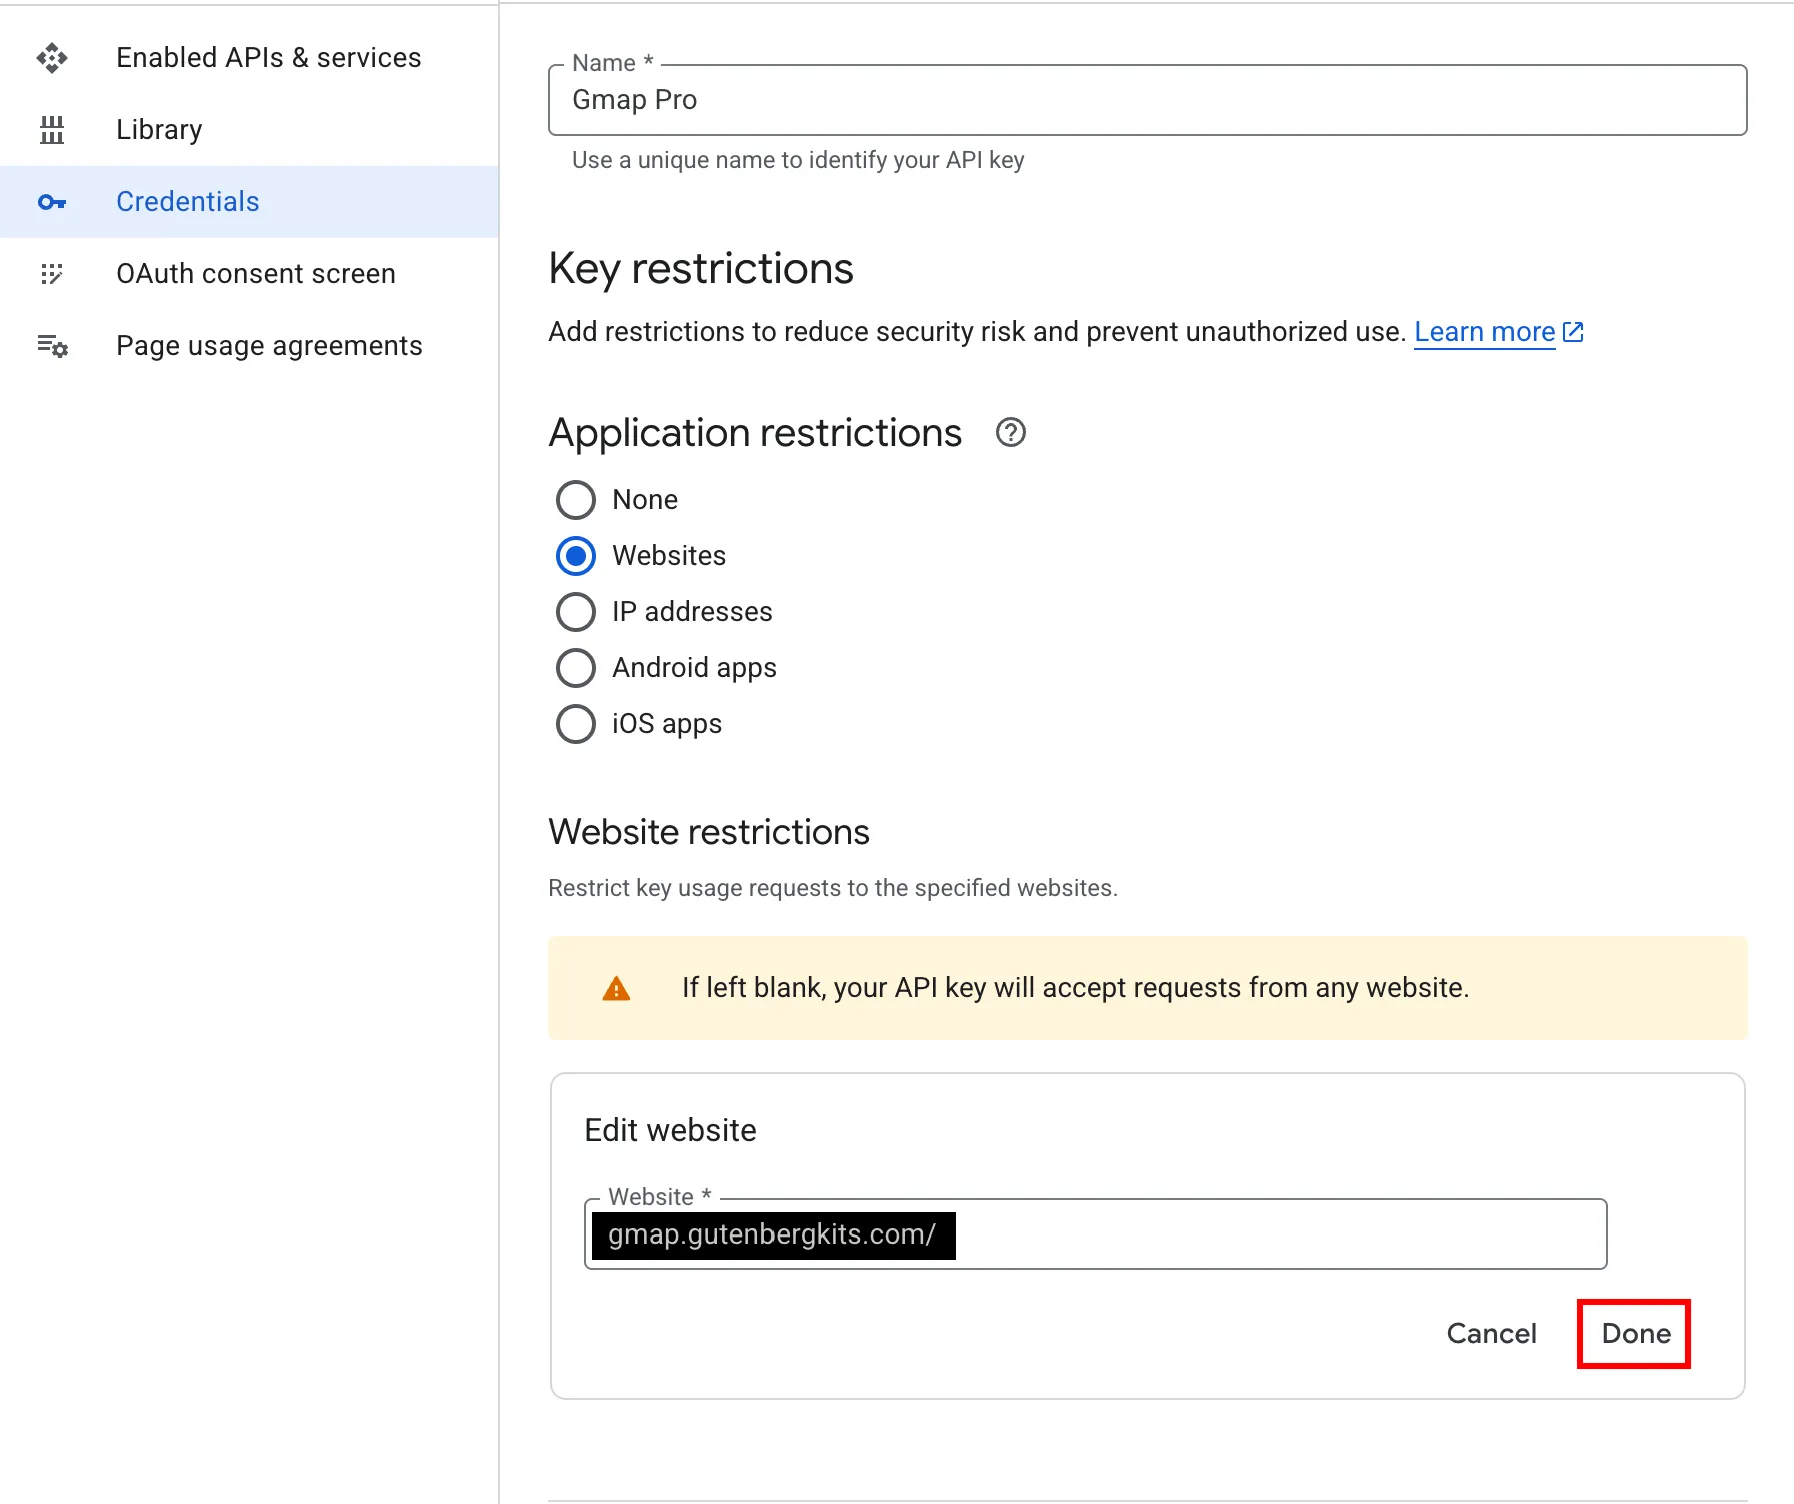
- On the Credentials page, click the pencil/edit icon next to your key.

- Under Application restrictions:
- Select Websites since we are using it for our website.
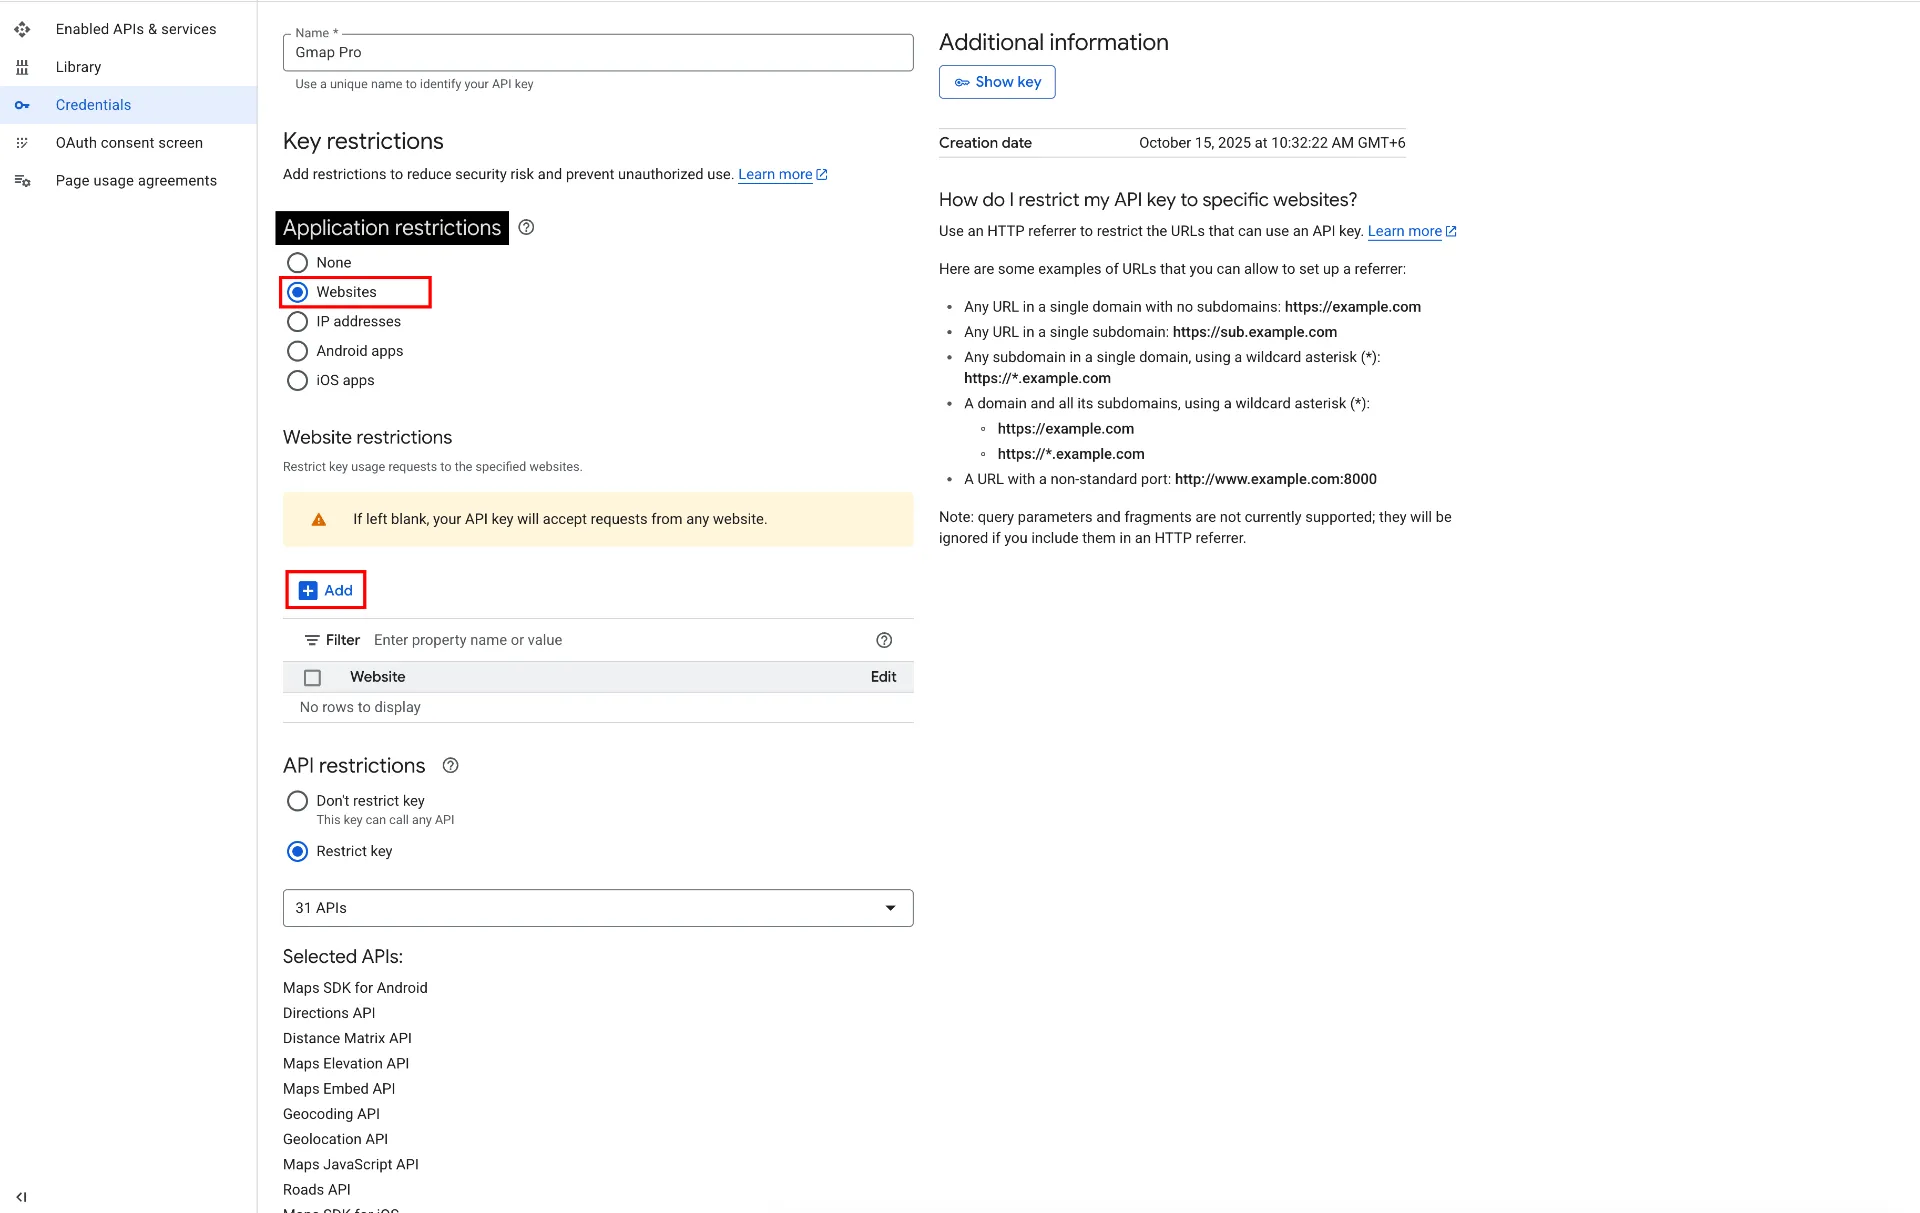
- Add your domain (e.g., “.example.com/” for all pages—use wildcard for subpaths).